Making and Compressing Foam-Filled Bean Bags
Creating a foam-filled bean bag is a rewarding DIY project that allows for customization in size, shape, and comfort. The process involves selecting the right materials and fillings, and a bit of sewing. Compressing the foam for filling is an essential step, as it makes the foam more manageable and easier to insert into the bean bag cover. Here's a step-by-step guide:
Materials Needed
- High-Quality Fabric: Choose a durable and comfortable fabric like cotton, polyester, or faux fur, depending on your preference.
- Shredded Foam Filling: Memory foam or polyurethane foam works well for bean bags.
- Sewing Machine (for stitching the fabric).
- Thread (matching the fabric).
- Zipper or Velcro (for closure).
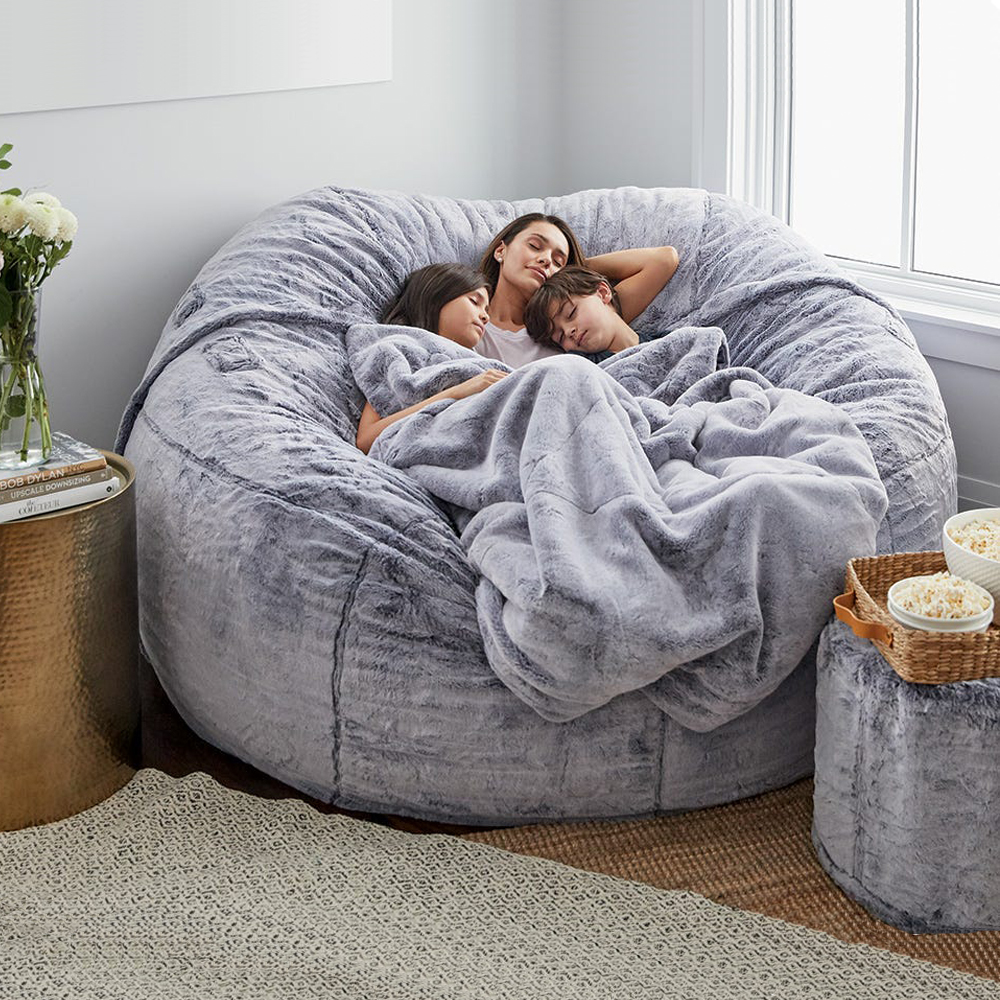
- Then you also can see the details from our product link: https://luckyboyliving.com/3ft-foam-sac.html
Steps to Make a Foam-Filled Bean Bag
-
Design Your Bean Bag: Decide on the size and shape of your bean bag. Round and pear-shaped are popular choices, but you can get creative.
-
Cut the Fabric: Based on your design, cut the fabric into the required shape. Remember to add extra inches for seam allowance.
-
Sew the Pieces Together: Sew the pieces of fabric together inside out, leaving an opening for the foam to be inserted. Make sure the seams are strong to handle the weight of the foam.
-
Add the Zipper or Velcro: This will allow you to remove the cover for washing or to add more foam later.
-
Turn the Cover Right Side Out: Once the sewing is done, turn the cover right side out through the opening.
Compressing the Foam
-
Shred the Foam: If your foam isn’t pre-shredded, cut it into small pieces. This increases its malleability and makes it easier to compress.
-
Vacuum Compression: For easier handling, you can compress the foam using a vacuum-sealed bag. Place the shredded foam in the bag, seal it, and use a vacuum cleaner to suck out the air. This will significantly reduce the foam's volume.
-
Insert the Compressed Foam: Once compressed, quickly move the foam into the bean bag cover through the opening. This step might require some speed as the foam will start to expand once exposed to air.
-
Let the Foam Expand: After inserting the compressed foam, give it some time to expand and fill out the bean bag. You can fluff it to help it regain its shape.

- Close the Opening: Once the foam is in, close the zipper or seal the Velcro.
- Fluff and Shape the Bean Bag: Adjust the foam to ensure even distribution and the desired shape.
Conclusion
Making your own foam-filled bean bag allows for a high level of customization in terms of size, shape, and comfort level. The key is to select the right materials and take your time with the sewing and filling processes. Compressing the foam makes the filling process more manageable and ensures a uniformly comfortable bean bag, perfect for lounging and relaxation.